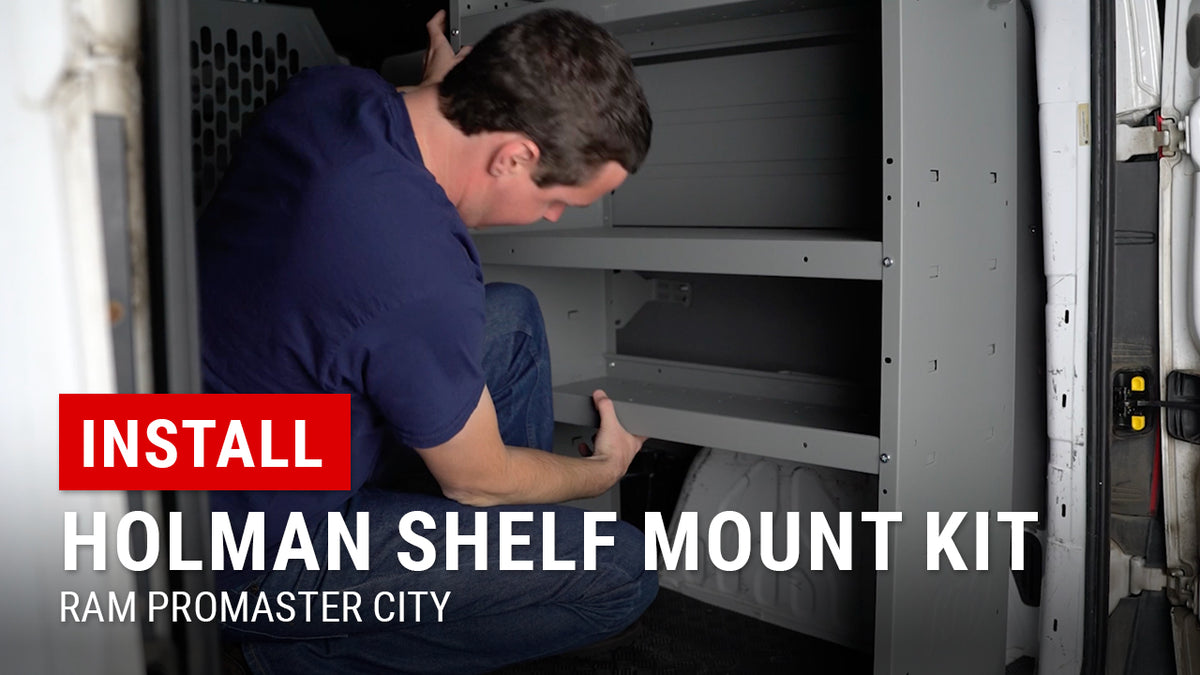
Installing a Holman Shelf in RAM ProMaster City
|
Posted in Install Videos
Smart storage can make or break your workflow. That’s why installing a Holman shelf in the RAM ProMaster City is one of the best upgrades you can make. In this article, we’ll walk you through the installation process, highlight key features, and share pro tips to help you get organized—and stay that way—for the long haul.
Why Installing a Holman Shelf in RAM ProMaster City Matters
We rely on our vans for daily tasks. Therefore, a sturdy cargo shelf makes tool retrieval swift. Additionally, Holman’s 32″ × 43″ shelf offers heavy-duty steel construction. As a result, you can carry bulky items with confidence. Furthermore, the custom mount kit avoids drilling new holes. Consequently, you preserve your van’s integrity
Overview of the Holman 32″ × 43″ Shelf and Mount Kit
Before installation, here’s what you need to know:
-
Shelf Dimensions: 32″ wide by 43″ high, ideal for ProMaster City.
-
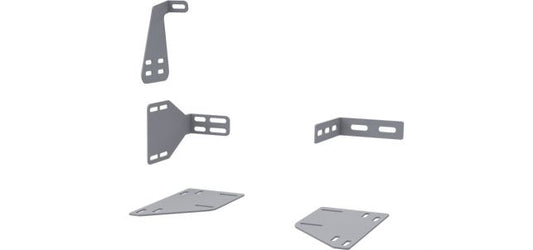
Mount Kit (48301-PC): Includes brackets, hardware, and floor plates.
-
Vehicle Fit: Uses factory D-ring studs and existing wall studs.
-
Finish: Durable powder-coat resists scratches and corrosion.
We source these shelves because they meet our strict quality standards. Additionally, they integrate seamlessly with Pullman-style liners.
Preparing Your Van for Installing a Holman Shelf in RAM ProMaster City
First, remove your floor D-rings using a Torx T40 bit. Meanwhile, identify the wall stud behind any liners. If liner panels block the stud, trim a small access hole. Next, clear the floor and protect it with a mat. Finally, assemble your Holman shelf per our assembly tutorial.
Step-by-Step Installation Guide
Follow these concise steps for a flawless setup:
-
Install Wall Brackets
- Slide the L-bracket into the upper wall stud.
- Use the included bolt, washer, and lock nut.
- Leave hardware slightly loose for alignment.
- Slide the L-bracket into the upper wall stud.
-
Position the Shelf Feet
- Line up shelf feet with D-ring threaded studs.
- Optionally, attach floor plates for offset mounting.
- Hand-tighten nuts to hold the shelf upright.
- Line up shelf feet with D-ring threaded studs.
-
Secure Lower Brackets
- Slide the lower bracket behind the side liner.
- Drill a 5/16″ hole through the liner and sheet metal.
- Fasten with bolt, washer, and lock nut.
- Slide the lower bracket behind the side liner.
-
Align and Tighten
- Shift the shelf for proper wheel-well clearance.
- Ensure the bottom shelf sits above the wheel arch.
- Finally, tighten all hardware from top to bottom.
- Shift the shelf for proper wheel-well clearance.
-
Shake Test
- Give the shelf a firm shake.
- Confirm it holds steady under motion.
- Give the shelf a firm shake.
By installing in this order, you ensure a snug, rattle-free fit.
Pro Tips for a Smooth Installation
-
Work with Doors Closed: This aligns brackets perfectly.
-
Use Blue Loctite: Prevents nuts from vibrating loose.
-
Keep Hardware Handy: Kits include spare nuts and washers.
-
Label Brackets: Mark each piece to speed reassembly.
- Avoid Over-Tightening: Excess torque can strip threads.
Implementing these tips saves time and ensures longevity.
Customizing Your Shelf Orientation
You have options depending on your cargo needs:
-
Pull Shelf Forward: Use floor plates to clear bulky items.
-
Push Shelf Close to Wall: Maximize floor space.
- Adjust Height: Fit tall bins below or a small cabinet above.
Furthermore, combining shelves with drawer units creates a versatile storage wall. Consequently, your van adapts to ever-changing job demands.
Transform Your Mobile Workspace
At Upfit Supply, we know that installing a Holman shelf in RAM ProMaster City boosts organization and efficiency. With robust steel brackets, precise floor mounts, and adjustable placement, this shelf suits any trade. Ready to streamline your van? Explore the product and tutorial below:
- Holman Shelf Mount Kit (48301-PC) for ProMaster City
-
Watch the Tutorial: Installing a Holman Shelf in RAM ProMaster City
With Upfit Supply, you get products that work as hard as you do—no exceptions.
Products Used On This Upfit
-
Shelf Mount Kit - RAM ProMaster City (Use with 4832L)
Regular price $63.89Regular priceUnit price per$69.76Sale price $63.89check_box 15 in stock. Ships in 1-2 business days.
Vendor: Sale
Sale