Installing Weather Guard Floor in RAM ProMaster City Cargo Van
|
Posted in Install Videos
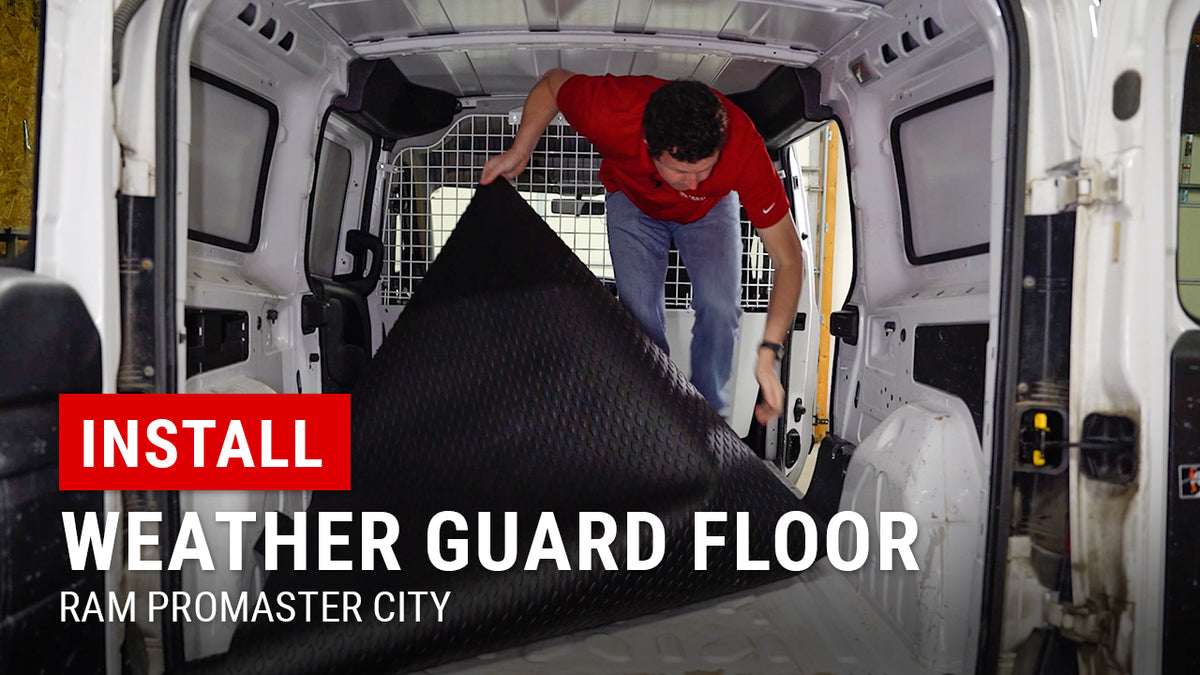
Every minute matters when you're on the job—which is why installing the Weather Guard Floor for the RAM ProMaster City Cargo Van is a favorite among pros who need fast, reliable protection. In this guide, we’ll walk you through the entire installation—from prep to final trim—so you can upgrade your cargo area in under 30 minutes. Along the way, we’ll highlight key features like heavy-duty rubber construction, anti-slip texture, and waterproof backing that help keep your van safer, cleaner, and work-ready.
Why Installing Weather Guard Floor in RAM ProMaster City Cargo Van Matters
First, factory vinyl mats often crack and curl at the edges. Moreover, trapped dirt and moisture lead to corrosion. Therefore, installing a Weather Guard floor delivers:
-
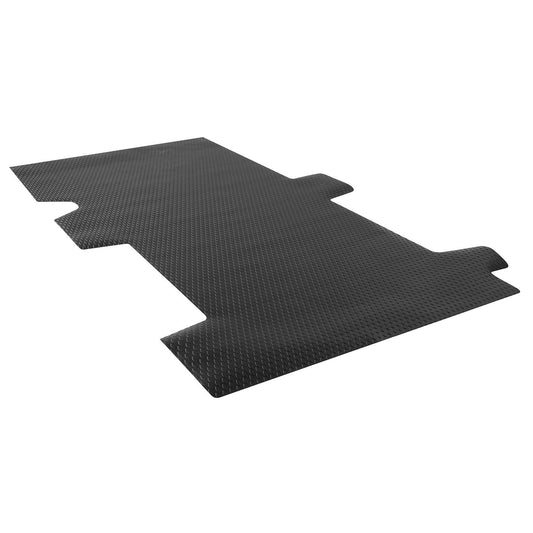
Custom Fit: Tailored to your ProMaster City’s contours.
-
Industrial-Grade Rubber: Resists tears and chemical spills.
-
Textured Surface: Provides anti-skid traction for safety.
-
Waterproof Backing: Locks out moisture and road salt.
Consequently, your van stays cleaner and safer. Plus, you project a more professional image.
Tools Needed for Installing Weather Guard Floor in RAM ProMaster City Cargo Van
Before you start Installing Weather Guard Floor, assemble:
-
T40 Torx bit & socket wrench for D-ring removal
-
Utility knife for any final trimming
-
Shop vacuum to clear dirt and debris
-
Protective gloves to prevent cuts on edges
Meanwhile, park on level ground and unload the cargo area. This preparation ensures a smooth install.
Removing Factory Flooring and D-Rings
First, clear the back of your van:
-
Unbolt D-rings: Use the T40 Torx bit to remove four fasteners.
-
Pop trim clips: Pry out any sill or trim pieces blocking the floor.
-
Lift out vinyl mat: Slide the factory mat straight up and out.
-
Clean the floor: Vacuum and wipe down metal surfaces.
Afterwards, inspect D-ring studs for corrosion and spin them free.
Step-by-Step: Installing Weather Guard Floor in RAM ProMaster City Cargo Van
Now for the main event. Follow these steps to complete Installing Weather Guard Floor:
-
Unbox & Position: Lay the Weather Guard floor inside, carpet-side up.
-
Align Edges: Tuck the front edge under the bulkhead trim. Then, match cut-outs to wheel wells.
-
Seat Around Thresholds: Ensure the mat butts flush against rear thresholds and door sills.
-
Trim as Needed: Use a utility knife to trim any excess rubber for perfect fit.
-
Replace D-rings: Push the floor’s pre-cut slits over each D-ring stud. Then, bolt rings back down.
Moreover, the durable rubber and precision-cut shape reduce installation time.
Final Adjustments After Installation
Once your floor is in place:
-
Check Fit: Ensure no gaps around wheel wells or door edges.
-
Verify D-ring Access: Confirm each ring moves freely through its slit.
-
Smooth Surface: Press down the entire floor to seat it firmly.
Finally, load your tools or cargo with confidence. The slip-resistant tread will keep gear stable.
Maintenance Tips for Your Weather Guard Floor
To maximize your investment:
-
Shake Out Debris: Remove the floor and tap it outdoors.
-
Hose Down Surface: Use mild soap for stubborn stains—avoid harsh solvents.
-
Air Dry Completely: Prevent mold or mildew under the mat.
-
Reinspect D-rings: Tighten as needed and clear any trapped grit.
Consequently, your ProMaster City stays protected and ready for work.
Fast, Durable Protection
At Upfit Supply, we understand that Installing Weather Guard Floor in RAM ProMaster City Cargo Van enhances both safety and efficiency. With rugged rubber, custom precision, and hassle-free install, this floor mat stands up to daily demands.
Ready for robust floor protection? Shop now:
Watch the full install tutorial: Installing Weather Guard Floor.
With Upfit Supply, your van works as hard as you do—no exceptions.
Products Used On This Upfit
-
Floor Mat for RAM ProMaster City
Regular price $232.93Regular priceUnit price percheck_box 100+ in stock. Ships in 1-2 business days.
Vendor: