Assembling a Weather Guard Adjustable Shelf Unit
At Upfit Supply, we know that versatile storage can make all the difference in your day-to-day workflow. That’s why the Weather Guard Adjustable Shelf Unit is a top pick among van fitters and fleet pros alike. In this guide, we’ll walk you through every step—from unboxing to final torque—so you can assemble a heavy-duty, modular shelving unit in under an hour. Along the way, we’ll spotlight standout features like heavy-gauge steel construction, tool-ready dividers, and adjustable shelf heights that let you customize your setup to fit your needs.
Why Assembling a Weather Guard Adjustable Shelf Unit Matters
First, traditonal shelving often lacks flexibility. Moreover, poorly built racks shift under load. Therefore, Assembling a Weather Guard Adjustable Shelf Unit offers:
- Modular Design: Customize width, height, and shelf count.
- Durable Construction: 14-gauge steel resists dents and corrosion.
- Tool-Ready Slots: Integrate dividers or bins without extra parts.
- Easy Access: Open-front shelves keep tools within reach.
Consequently, your van stays organized and work-ready—day after day.
Tools Needed for Assembling a Weather Guard Adjustable Shelf Unit
Before you begin Assembling a Weather Guard Adjustable Shelf Unit, gather:
- Rubber-mallet for seating panels
- 5/16″ and 3/8″ sockets with ratchet
- Adjustable wrench for plus-nut tightening
- Work gloves to protect hands
- Measuring tape for precise shelf spacing
Meanwhile, clear a flat workspace near your van. This setup streamlines assembly.
Bench Prep: Sorting Components
First, unpack the box and sort parts:
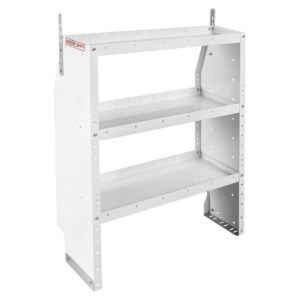
- End Panels: Look for Weather Guard logo and taper.
- Shelf Boards: Three identical main shelves and one narrow top shelf.
- Fasteners Bag A: Hex bolts, washers, plus-nuts (for van mounting).
- Fasteners Bag B: Shelf-assembly bolts and spacers.
- Dividers: Steel inserts that snap into shelf slots.
Furthermore, arrange components in assembly order to avoid hunting for parts mid-build.
Step-by-Step: Assembling a Weather Guard Adjustable Shelf Unit
Follow these steps to complete Assembling a Weather Guard Adjustable Shelf Unit:
- Attach Top Shelf:
- Turn end panels logo-side outward.
- Slide narrow top shelf hooks into upper slots.
- Tap gently with rubber mallet until seated.
- Turn end panels logo-side outward.
- Bolt Shelf Supports:
- Hand-thread shelf-assembly bolts through flange holes.
- Add washer and spacer on inner side.
- Leave hardware loose for later shelf adjustments.
- Hand-thread shelf-assembly bolts through flange holes.
- Install Bottom Shelf:
- Choose lowest slots to clear your van’s wheel well.
- Slide shelf into position.
- Thread bolts, washers, and spacers, then snug.
- Choose lowest slots to clear your van’s wheel well.
- Add Middle Shelves:
- Repeat insertion for remaining shelves.
- Reference tool-crates or bins for ideal spacing.
- Hand-tighten each bolt before final torque.
- Repeat insertion for remaining shelves.
- Set Dividers:
- Snap steel dividers into pre-cut slots at desired positions.
- Divide shelves into customizable tool storage zones.
- Snap steel dividers into pre-cut slots at desired positions.
Moreover, the precision-cut steel and universal bolt pattern simplify each step.
Final Inspection After Assembling a Weather Guard Adjustable Shelf Unit
Once assembled, perform these checks:
- Hardware Torque: Tighten all bolts to 15 ft-lb with a wrench.
- Shelf Level: Verify each shelf is perfectly horizontal.
- Divider Security: Ensure dividers lock firmly without play.
- Panel Stability: Check end panels for any wobble.
Finally, load your tools. The open-front design keeps frequently used items within easy reach.
Maintenance Tips for Your Shelf Unit
To maintain your Weather Guard shelf:
- Quarterly Check: Re-torque bolts and inspect steel for rust.
- Clean Surfaces: Wipe down with mild detergent and water.
- Lubricate Clips: Spray light lubricant on divider slots to ease removal.
- Reconfigure As Needed: Adjust shelf heights and divider positions for new tool sets.
Consequently, your storage solution adapts as your workload evolves.
Fast, Modular Storage
At Upfit Supply, we understand that Assembling a Adjustable Shelf Unit transforms your van’s functionality. With rugged steel, tool-ready features, and quick, intuitive assembly, you’ll have a professional storage system in under an hour.
Ready to upgrade your van’s cargo setup? Shop now:
Adjustable 3-Shelf Unit 44″ × 36″ × 13.5″
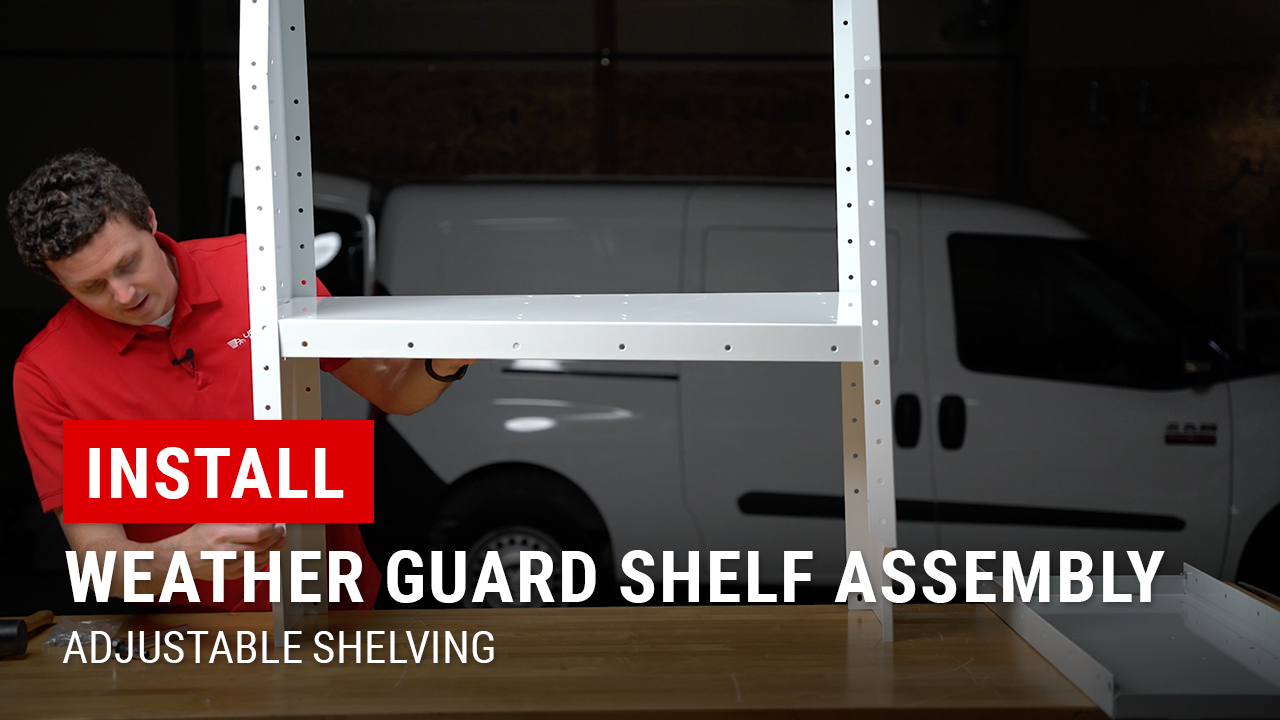
Watch the full tutorial: Assembling a Weather Guard Adjustable Shelf Unit
With Upfit Supply, your van works as hard as you do—no exceptions.