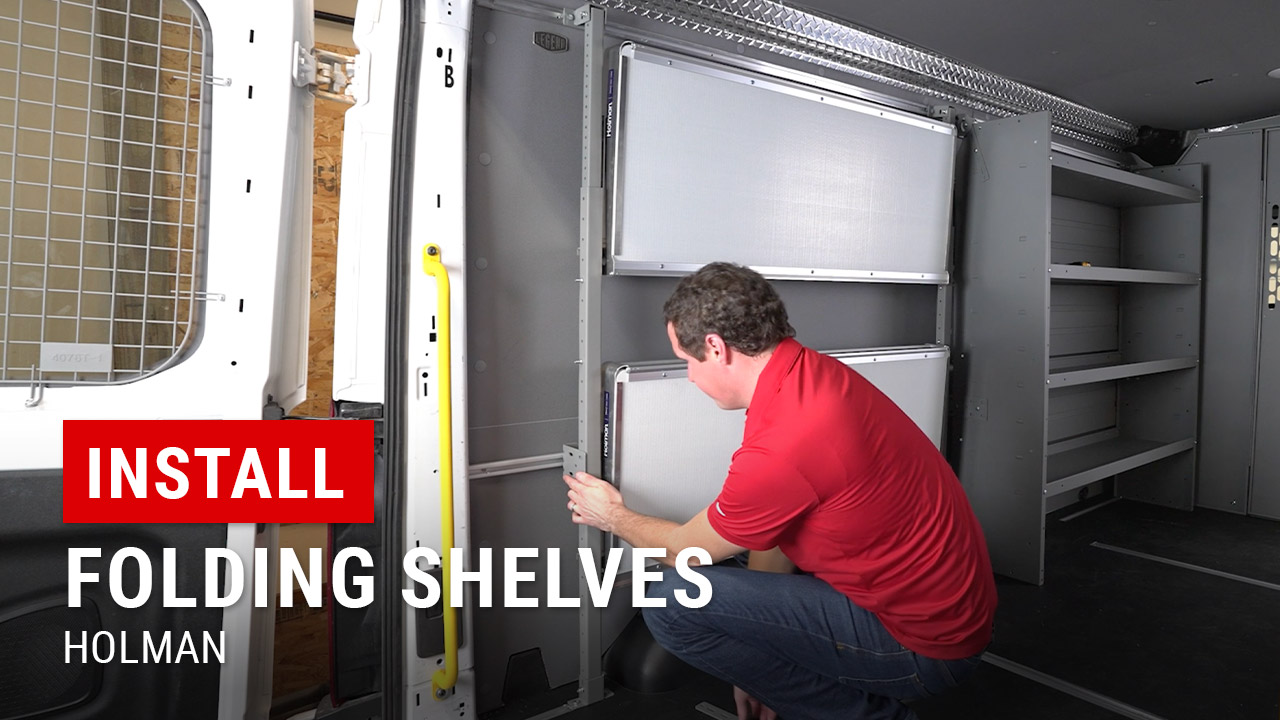
How To Install Holman Folding Shelves in a Ford Transit
Maximize Storage Efficiency with Holman Folding Shelves
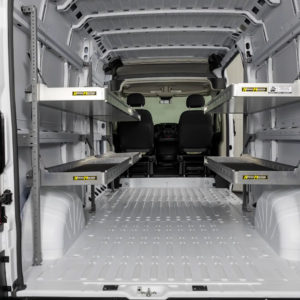
If you’re looking to optimize storage space in your work van while maintaining flexibility for larger cargo, Holman folding shelves are a must-have upgrade. Designed for durability, adjustability, and ease of installation, these shelves provide a sturdy yet foldable solution for organizing tools, materials, and supplies.
This step-by-step installation guide will walk you through the process of setting up Holman folding shelves, offer pro tips for a seamless install, and highlight how these shelves can enhance your van’s functionality.
Watch the full install video here.
Why Choose Holman Folding Shelves?
Holman’s folding shelves stand out from other brands due to their strong construction, modular design, and ease of installation. Here’s what makes them a top choice:
- Comprehensive Installation Guide – Holman provides a printed manual with a full parts list and hardware specifications, so there’s no need to search online or scan QR codes.
- Adjustable Leg System – Features upper and lower legs that allow custom height adjustments to fit your van’s layout.
- Durability & Functionality – Made from high-strength materials, these shelves withstand tough job site conditions while providing easy fold-away storage when needed.
Tools & Materials Needed
Before getting started, gather the following tools:
- Wrench set
- Allen wrench
- Measuring tape
- Marker or pencil
- Drill (if mounting to van walls without a pre-installed track system)
Pro Tip:
Before starting, lay out all parts and check your hardware. Holman provides all necessary bolts, spacers, and washers—organizing them ahead of time will save you hassle later.
Step-by-Step Installation Guide
Follow these steps to properly install Holman folding shelves in your work van.
1. Unbox and Organize Components
Inside the box, you’ll find:
- Shelf modules (preassembled with fold-away mechanisms)
- Adjustable legs (upper and lower sections)
- Mounting feet
- Brackets and hardware
Take a moment to inspect and separate components for easy access during installation.
2. Attach Lower Legs to Mounting Feet
- Secure the lower legs to the mounting feet using the provided hardware.
- Insert a longer bolt through the bottom hole, using a washer and nylon spacer for added stability.
- Tighten firmly, but leave some flexibility for adjustments.
3. Mount the First (Bottom) Shelf
- Remove the pre-installed hardware from the shelf brackets.
- Align the bottom shelf at the desired height, ensuring clearance for obstacles like wheel wells.
- The recommended lowest setting is 12 1/4 inches from the van floor.
- Secure the shelf to the lower legs using the provided bolts and locknuts.
Pro Tip:
Before tightening everything down, test the shelf height by folding it up and down to ensure smooth operation and adequate clearance.
4. Attach the Upper Legs & Second Shelf
- Connect the upper legs to the lower legs, using nylon spacers to prevent metal-on-metal pinching.
- Position the second shelf at least 21 inches above the bottom shelf for proper spacing.
- Secure using the same method as the lower shelf, ensuring button-head screws face inward to avoid interference with the fold-away mechanism.
5. Secure the Shelving System to the Van
- If your van has a pre-installed track system – Tighten the shelving feet to the T-bolts in the tracks.
- If your van does not have tracks – Mark drilling locations on the van’s wall and floor.
- Use plus nuts to create secure anchor points before bolting the shelving system into place.
Pro Tip:
Double-check your measurements before drilling into the van walls—aligning shelves evenly will prevent misalignment issues.
6. Install Mid-Mount Brackets (Optional)
Mid-mount brackets provide extra support and can be mounted in two ways:
- As an elbow bracket for direct reinforcement.
- As a traditional L-bracket for more flexible positioning.
Ensure bolt heads face away from the shelf to prevent interference with the fold-away mechanism.
7. Final Adjustments & Testing
- Go through all bolts and tighten securely.
- Test the folding function of the shelves to ensure smooth operation.
- Verify that the shelving is square and level for proper weight distribution.
Maximizing Your Holman Folding Shelf Setup
Holman’s modular shelving system allows for additional customization. Here’s how you can optimize your setup:
- Expand Your Storage – Add extra shelves by sharing a middle leg, reducing unnecessary components.
- Use a Custom Floor Track – If your van supports it, Holman’s track floor system eliminates the need for drilling, making installation quicker and more adaptable.
- Consider Weight Distribution – Place heavier items on the lower shelf to maintain a balanced center of gravity and improve driving stability.
Pro Tip:
Planning your van layout before installing shelves can help optimize storage space and workflow. Consider how often you need access to different tools and materials when deciding shelf heights.
Final Thoughts: A Smart Storage Solution for Work Vans
Installing Holman folding shelves is one of the best upgrades you can make for work van organization. These space-saving, durable, and easy-to-install shelves allow you to store tools, materials, and supplies efficiently—while still maintaining the flexibility to haul larger cargo when needed.
Whether you drive a Ford Transit, Ram ProMaster, or Mercedes Sprinter, Holman folding shelves are the perfect solution for keeping your van organized, efficient, and work-ready.