Installing Holman Rear Window Screens in RAM ProMaster City
When it comes to protecting your tools and gear, securing your van’s interior is a must. That’s why we recommend installing Holman Rear Window Screens for the RAM ProMaster City—a tough, reliable upgrade that adds an extra layer of protection. In this guide, we’ll walk you through the installation process, break down the key benefits, and share expert tips to help you get it done right.
Why Installing Holman Rear Window Screens in RAM ProMaster City Matters
First, protecting your cargo area boosts security. Next, these screens deter break-ins by covering vulnerable glass. Additionally, they reduce glare and road debris damage. Consequently, you save time and money on repairs. Finally, the powder-coated black finish blends seamlessly with your van’s exterior.
Overview of Holman Rear Window Screens
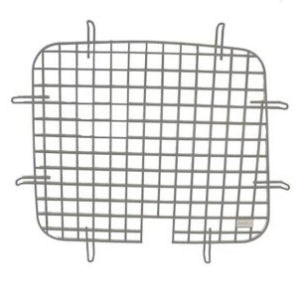
The Holman kit includes:
- Two precision-cut screens for ProMaster City rear doors
- Sheet metal screws and lock washers for secure mounting
- Powder-coated finish that resists corrosion and glare
Furthermore, these screens work on all 2014–2025 model years. As a result, you get a universal fit without modifications.
Key Features of Holman Rear Window Screens
When you choose Holman, you benefit from:
- Enhanced Security: Strong steel bars block window access.
- Anti-Glare Coating: Reduces interior heat and UV exposure.
- Easy Installation: Drill only six 3/16″ pilot holes per side.
- Seamless Fit: Tabs align with sheet metal for suction-tight mounting.
Moreover, the low-profile design preserves door clearance and aesthetics.
Step-by-Step Guide to Installing Holman Rear Window Screens in RAM ProMaster City
- Gather Tools and Hardware
First, clear your rear doors. Then, grab a 3/16″ drill bit, Sharpie, and Phillips screwdriver. Make sure the sheet metal screws and lock washers are handy. - Position and Mark
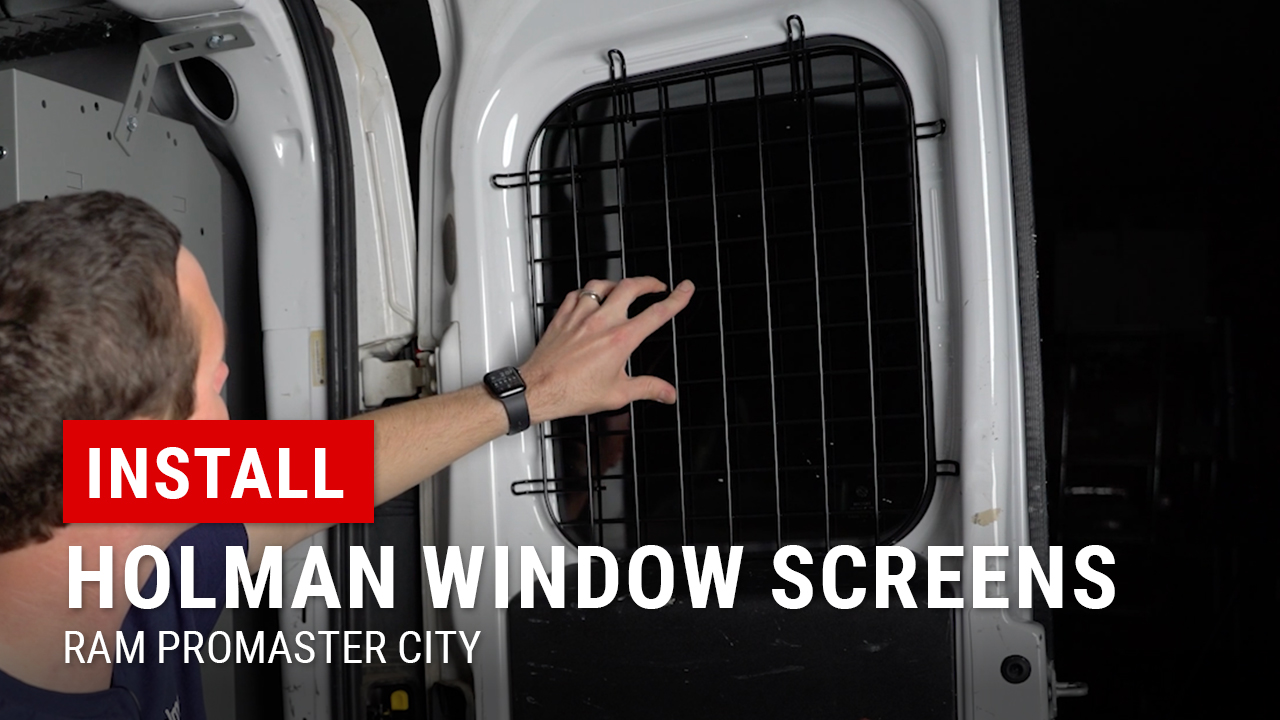
Next, hold the smaller screen on the driver side. Meanwhile, press each tab against the door and mark six drill points. Then, repeat for the larger passenger screen. - Drill Pilot Holes
After marking, drill six 3/16″ holes per door. However, use a depth stop to avoid through-panelling. Consequently, you protect internal wiring and insulation. - Install Screws and Washers
Then, align the screen tabs with pilot holes. Next, insert a screw through a tab, add a lock washer underneath, and tighten gently. Repeat for all six screws, keeping each loosely secured until alignment checks pass. - Final Tightening
Finally, ensure perfect fit by centering the screen. Then, torque each screw snugly—but not overly tight—to avoid strip-out.
By following this order, you achieve a secure, rattle-free installation.
Pro Tips for Window Screen Installation
- Double-Check Marks: “Mark once, drill once” ensures precision.
- Work with Doors Closed: This prevents misalignment when latched.
- Use Blue Loctite: A drop on each screw keeps them from vibrating loose.
- Inspect Annually: Check screws and washers to maintain security.
- Keep Spare Screws: The kit includes extras in case of strip-out.
Moreover, if your ProMaster has interior liners, peel back only as much as needed.
Secure Your ProMaster City with Rear Window Screens
At Upfit Supply, we know that installing Holman rear window screens in RAM ProMaster City enhances both security and style. With durable steel bars, anti-glare finish, and straightforward hardware, this upgrade is a no-brainer. Ready to protect your cargo and van interior? Explore the product and tutorial below:
- Holman Rear Window Screens for RAM ProMaster City
- Watch the Tutorial: Installing Holman Rear Window Screens in RAM ProMaster City
With Upfit Supply, you get solutions that work as hard as you do—no exceptions.