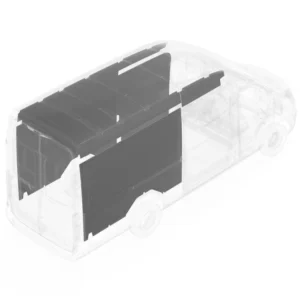
Installing Legend DuraTherm Wall Liners in Ford Transit
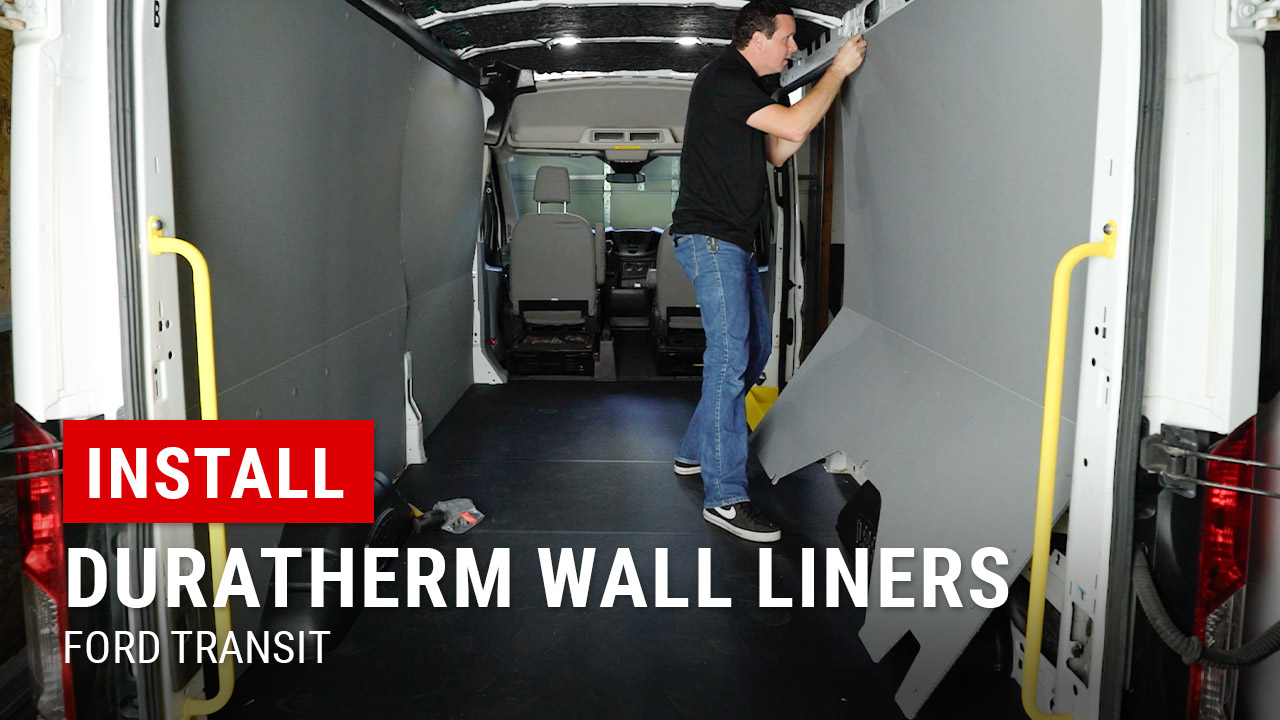
How to Install DuraTherm Cargo Van Wall Liners in a Ford Transit: A Step-by-Step Guide
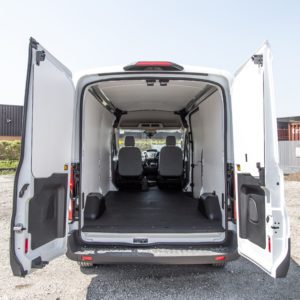
Installing Legend DuraTherm Wall Liners in your cargo van may sound like a daunting task, but with the right tools and guidance, it can be a straightforward project. Whether you’re working with a Ford Transit or another model, DuraTherm van wall liners protect the interior and improve insulation. In this guide, we’ll show you how to install a van wall liner step by step.
Watch the full install video here.
Tools and Preparation
The great thing about installing this cargo van wall liner is it’s pretty simple and you don’t need much to get it done. The only tool you need for installation is a rubber mallet. This makes the process accessible for even those with minimal experience in van customization.
Besides the rubber mallet, the liners come with all necessary plastic push-in clips for the Ford Transit. These clips make the installation process smooth and screw-free, unlike some other van models that may require self-threading screws.
Step 1: Positioning the Wall Liner
The first step is bringing the wall liners into your van and positioning them correctly. The holes in the liner should line up with existing holes in the body of the vehicle. Start by identifying the liner panel for each section of the van and check for pre-scored areas in the liner that allow for cutting around accessories or outlets.
If you don’t have any van accessories, you can skip the cutting and move straight to securing the liner.
Step 2: Securing the Liner with Push-in Clips
Once you’ve lined up the wall liner, it’s time to secure it using the plastic push-in clips. We suggest starting with a couple of holes to index the liner, ensuring everything is properly aligned before you secure it fully.
Step 3: Special Considerations for Wheel Wells and Accessories
If your van has cargo rings, wheel well covers, or other accessories, you’ll need to make some adjustments. Ryan from Upfit Supply advises, “If you do have your factory cargo ring above the wheel well, you’re going to want ro make sure that you remove that so you can get this liner behind it.”
Wheel well covers will need to be aligned with both the wall liner and the body of the van. This step might take a little extra time, but ensuring that everything lines up perfectly is key to a clean installation.
Step 4: Installing Smaller Panels
Most vans, like the Ford Transit, also have smaller wall liner panels that fit around doors and roof cross members. Ryan points out, “For these pieces, we have one longer piece with cutouts for the cross members in the roof, and a shorter one that goes over the door.”
Take care to align these smaller panels with any cutouts or cross members before securing them with clips.
Step 5: Final Adjustments and Extra Clips
Once you’ve secured all the panels, check to ensure everything fits snugly. We had about 10 extra push-in clips here, which is great in case you lose one or damage one during installation.
DuraTherm Liners Are Great for Any DIY Van Upfit
Installing Legend DuraTherm Wall Liners in your cargo van is a straightforward process that can improve the durability and functionality of your van’s interior. Using only a rubber mallet and the included push-in clips, this project can be completed without the need for complicated tools or professional help. Plastic push-in clips make this an easy DIY project for any van owner.
-
 Legend Liner Package – Ford Transit Cargo VanFrom: Original price was: $2,097.36.$1,782.38Current price is: $1,782.38.
 Select options
-
Sale!
Legend DuraTherm Insulated Wall Liner Kit For Ford Transit Cargo VansOriginal price was: $1,433.00.$1,218.05Current price is: $1,218.05.50+ in stock. Ships in 1-2 business days.Add to cart