Installing TigerTough Seat Covers on Ford Transit Connect
Tough jobs call for tough gear—and that includes your van’s seats. That’s why installing TigerTough Seat Covers for the Ford Transit Connect is one of our top-recommended upgrades. In this guide, we’ll walk you through the full installation—from prepping your vehicle to making final adjustments—so you can protect your seats in under an hour. Along the way, we’ll highlight key features like heavy-duty fabric, secure strapping, and a UV-resistant finish built to withstand daily wear and tear.
Why Installing TigerTough Seat Covers on Ford Transit Connect Matters
First, factory upholstery wears quickly under heavy use. Moreover, spills and grime can ruin your interior. Therefore, TigerTough Seat Covers deliver:
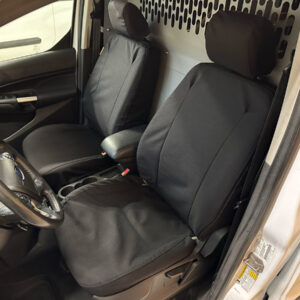
- Custom-Fit Style: Tailored for 2010–2017 Transit Connect bucket seats.
- Tear-Resistant Fabric: Withstands tool drops and rough gear.
- Fold-Flat Compatibility: Works with the passenger-seat lever.
- Easy Cleaning: Wipe down or hose off any mess.
Consequently, your van stays sharp, professional, and ready for work.
Tools Needed for Installing TigerTough Seat Covers on Ford Transit Connect
Before you begin Installing TigerTough Seat Covers, gather:
- Trim removal tools for plastic clips
- Small flat-head screwdriver to release seat tabs
- Impact driver with Phillips bit for anchors
- Protective gloves to handle tight fabrics
Meanwhile, park on level ground and clear cargo. This prep prevents delays.
Prep Step: Removing Headrests and Clearing Seats
Next, prep the seats for cover installation:
- Raise Headrests: Pull up until they stop.
- Release Tabs: Insert a trim tool into the slot.
- Remove Headrests: Push tab and lever to free posts.
- Vacuum Seats: Clear debris for smooth covering.
Afterwards, verify your seat style matches the “Fold-Flat Passenger” option.
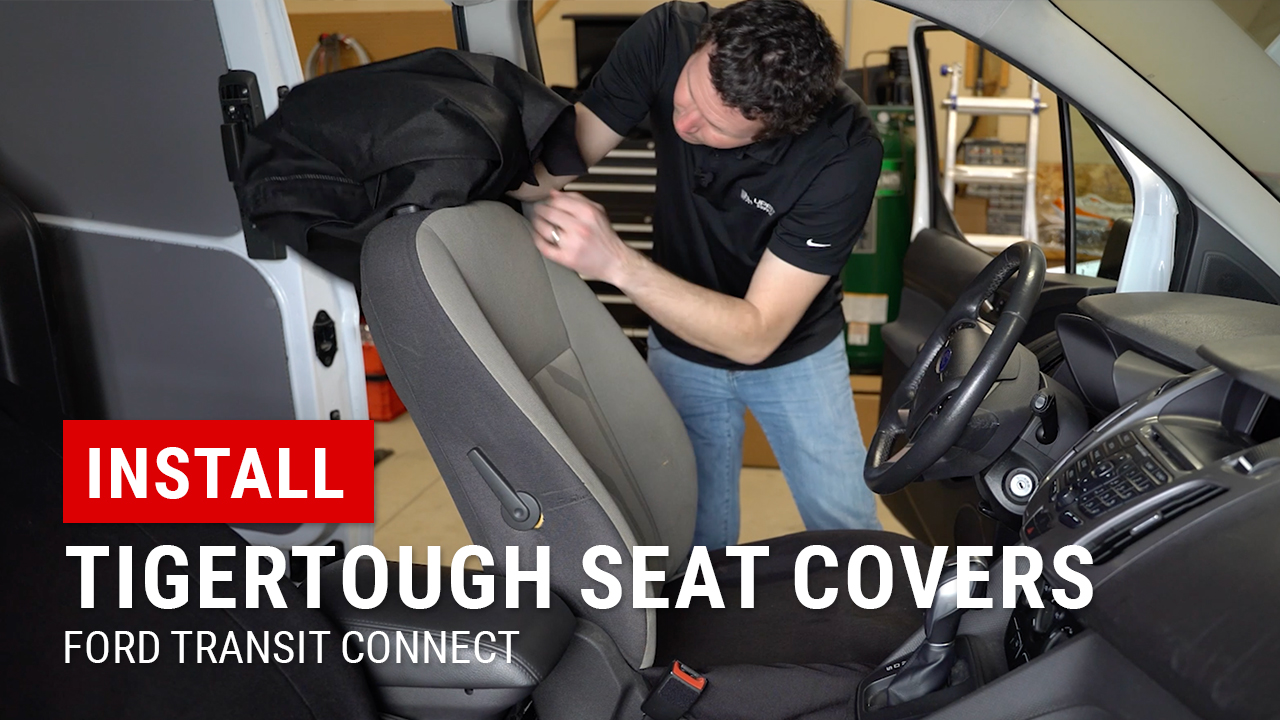
Step-by-Step: Installing TigerTough Seat Covers on Ford Transit Connect
Now for the main event. Follow these steps to complete Installing TigerTough Seat Covers:
- Slide On Seat-Bottom Cover:
- Tuck rear flaps through seat-back gap.
- Thread strings between fabric and trim.
- Tighten loops under seat and secure with string locks.
- Tuck rear flaps through seat-back gap.
- Fit Seat-Back Cover:
- Turn cover inside-out three-quarters.
- Align airbag tag and lever cutout.
- Pull cover down, tucking front flap under seat rail.
- Fasten velcro straps across headrest tube and seat back.
- Turn cover inside-out three-quarters.
- Reinstall Headrests:
- Slide headrest covers on inside-out.
- Push posts through cover into seat.
- Slide headrest covers on inside-out.
Moreover, pay attention to foam-backed panels, as they cushion support.
Securing Straps and Final Adjustments
After initial fitment, fine-tune your work:
- Tighten Velcro: Pull straps for a smooth surface.
- Check Fold-Flat Lever: Ensure seat still reclines and folds.
- Smooth Seams: Tuck excess material into seat creases.
Meanwhile, confirm no straps snag trim or tracks.
Maintenance Tips for Your Seat Covers
To keep covers looking new:
- Machine Wash Cold: Use mild detergent.
- Air Dry Only: Prevents fabric shrinkage.
- Spot Clean Spills: Wipe up immediately.
- Re-Tighten Straps: Check every few weeks.
Altogether, simple care extends cover life.
Professional Protection in Minutes
At Upfit Supply, we believe Installing TigerTough Seat Covers on Ford Transit Connect upgrades both durability and style. With rugged Endura™ fabric and secure fit, these covers shield your seats from daily wear.
Ready to safeguard your cabin? Shop now:
TigerTough Front Bucket Seat Covers for Transit Connect
Watch the full install tutorial:Installing TigerTough Seat Covers on Ford Transit Connect
With Upfit Supply, your van works as hard as you do—no exceptions.