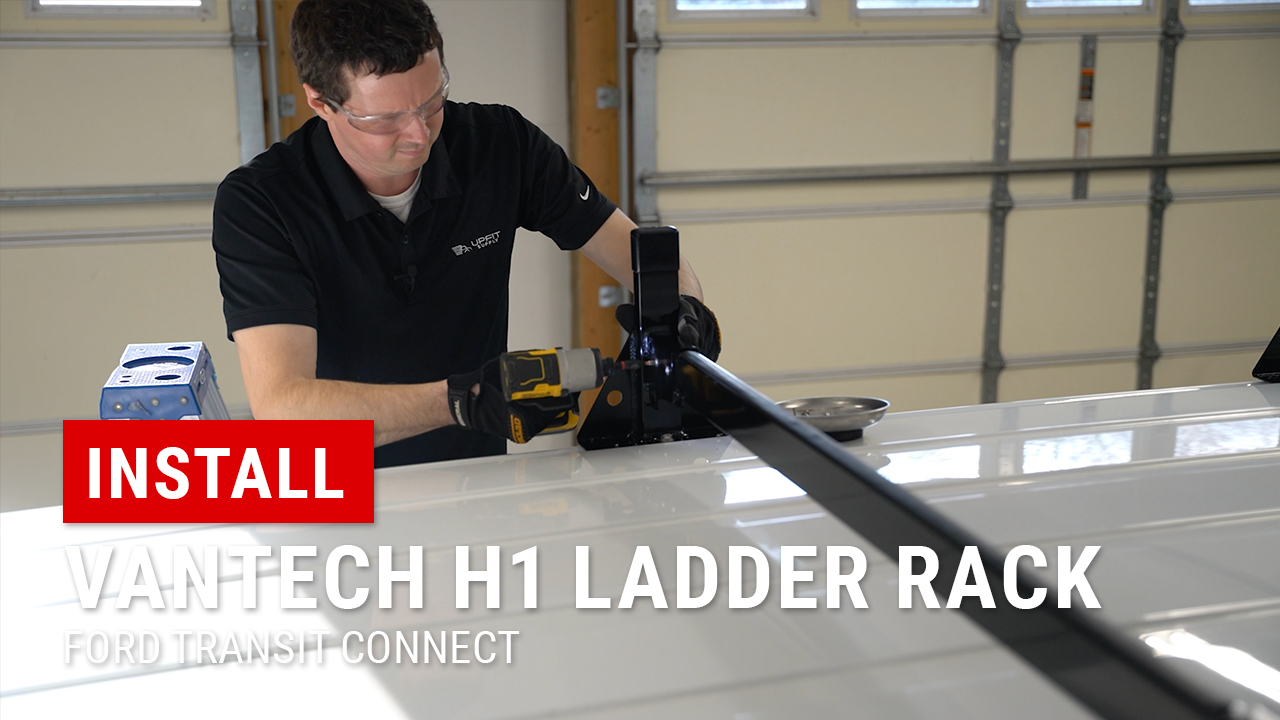
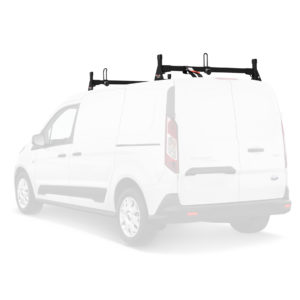
Installing Vantech H1 Ladder Rack on Ford Transit Connect

Making the most of your van’s roof space is a must—especially when you’re hauling ladders, pipes, or even kayaks. That’s why the Vantech H1 Ladder Rack for the Ford Transit Connect is one of our top-recommended upfits. It’s lightweight, easy to install, and designed to simplify loading and unloading without adding unnecessary weight to your van.
Why Installing Vantech H1 Ladder Rack on Ford Transit Connect Matters
First, the Transit Connect’s low roof limits interior ladder storage. Next, lifting ladders over the side door can strain your back. Therefore, mounting a Vantech H1 Ladder Rack:
- Frees up cargo area for tools and equipment
- Improves safety by providing a secure ladder platform
- Boosts efficiency with quick, one-person loading
Finally, this rack installs in minutes—no welding required.
Tools and Preparation for Installing Vantech H1 Ladder Rack on Ford Transit Connect
Before starting installing Vantech H1 Ladder Rack on Ford Transit Connect, gather:
- Socket wrench with 12 mm socket and extension
- 12 mm wrench for tight spaces
- Trim removal tools or flat screwdriver
- Needle-nose pliers or vice grips
- Impact driver with Phillips bit
Meanwhile, clear your roof of debris and park on level ground. Then, remove OEM roof plugs at mounting points 1, 3, and 5. Consequently, you’ll access factory t-bolts for a bolt-on install.
Step-by-Step Guide: Installing Vantech H1 Ladder Rack on Ford Transit Connect
1. Prep the Mounting Feet
First, slide the rubber gaskets into the aluminum spacers. Meanwhile, ensure each spacer’s angled side faces inward toward the van’s center.
2. Attach Uprights to Roof
Next, slip one carriage bolt into each mounting channel. Then, position the front upright over location 1. Consequently, clamp it onto the factory t-bolt and loosely tighten.
3. Secure Middle and Rear Feet
Afterwards, repeat at mounting points 3 and 5. Meanwhile, maintain some wiggle room—this allows final alignment later.
4. Install Rubber Bar Guards
Then, on each crossbar, insert the adhesive rubber bar guard. You can center it in the channel by rolling it with a dowel. Moreover, this guard prevents ladder damage and reduces noise.
5. Add Hook-and-Loop Ladder Straps
Next, thread the hook-and-loop ladder straps onto the rear crossbar. Finally, position them so the logo faces the van’s rear.
6. Mount Crossbars to Uprights
Subsequently, slide each end of the crossbar into its uprights. Meanwhile, insert the provided stainless-steel screws through the tabs. Consequently, this locks the bars in place.
7. Final Torque and Alignment
Finally, adjust all uprights to a perfect 90° angle. Then, use a 12 mm socket to torque each bolt to manufacturer specs. Consequently, your ladder rack won’t shift under load.
Securing Your Ladder on the H1 Rack
Once you’ve finished installing Vantech H1 Ladder Rack on Ford Transit Connect, loading ladders is simple:
- Place ladder foot against the front ladder stopper
- Lean ladder into the guide on the middle bar
- Wrap strap around ladder and crossbar, then fasten firmly
Additionally, use the included ladder stoppers on the front bar for extension ladders.
Maintenance and Care for Your Vantech H1 Ladder Rack
After installing Vantech H1 Ladder Rack on Ford Transit Connect, keep it in top shape by:
- Inspecting bolts monthly for tightness
- Wiping down with mild soap and water
- Checking rubber guards for wear
- Lubricating moving parts to prevent squeaks
Consequently, your rack stays reliable year after year.
Equip Your Transit Connect Today
At Upfit Supply, we know that installing Vantech H1 Ladder Rack transforms your fleet’s capability. Lightweight, durable, and easy to use, this rack fits all 2014-on Transit Connect vans.
Ready to upgrade? Visit the product page for Vantech H1 Ladder Rack and grab the tools you need to get started: Vantech H1 Ladder Roof Rack for Ford Transit Connect (2014-2023)
Watch the full installation video: YouTube
With Upfit Supply, you get upfits that work as hard as you do—no exceptions.


