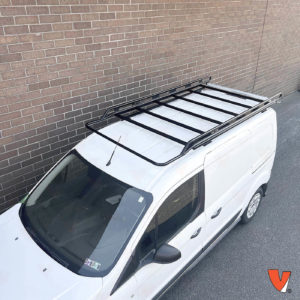
Installing Vantech H2.1 Roof Rack on Transit Connect
A dependable roof rack can turn your van into a true workhorse. That’s why Installing Vantech H2.1 Roof Rack for the Ford Transit Connect is a top choice for contractors, tradespeople, and weekend adventurers alike. In this guide, we’ll walk you through the full installation—from prep to final torque—in under an hour. Along the way, you’ll get a closer look at standout features like lightweight aluminum crossbars and integrated cable management channels that add both function and finesse.
Why Installing Vantech H2.1 Roof Rack on Transit Connect Matters
Firstly, a stock roof limits storage to inside the van. Moreover, unsecured ladders can slip during transit. Therefore, the Vantech H2.1 roof rack offers:
- Durable Aluminum Bars: Resist corrosion and flex under heavy load.
- Integrated Cable Channels: Route wires neatly for lights or antennas.
- Modular Design: Add ladder stoppers, guides, or J-hooks anywhere.
- Wide Load Spread: Distributes weight to factory mounting points.
Consequently, your Transit Connect gains safe, external cargo capacity.
Tools Needed for Installing Vantech H2.1 Roof Rack on Transit Connect
Before you begin Installing Vantech H2.1 Roof Rack, gather:
- Rubber mallet for seating guards and bars
- Socket wrench (½″) and 12 mm socket for mounting feet
- Phillips impact driver for self-tapping screws
- Trim tool to remove factory plugs
- Tape measure to verify crossbar spacing
Meanwhile, park your van on level ground. That preparation makes installation smoother.
Preparation Steps
Next, prepare the components before lifting to the roof:
- Unbox All Parts: Confirm you have 6 crossbars, 4 uprights, 2 end rails, and accessories.
- Install Rubber Bar Guards: Slide into the top channel of each crossbar. Roll them in with a dowel for ease.
- Dry-Fit Aluminum Rails: Connect uprights, crossbars, and end caps on the ground. Then, loosely fasten with supplied button-head Allen screws.
Additionally, remove five factory roof plugs using a trim tool. That exposes the Transit Connect’s built-in mounting studs.
Step-by-Step: Installing Vantech H2.1 Roof Rack on Transit Connect
1. Mount Upright Feet
First, clip the mounting feet onto studs 2 and 4 (counting front to back). Then, loosely install the carriage bolts with rubberized spacers facing inward. Meanwhile, leave hardware finger-tight for later alignment.
2. Attach Crossbars to Uprights
Next, slide slider bolts into each aluminum bar channel. Consequently, slide bars onto the uprights. Then, secure with washers and nuts. Meanwhile, keep everything loosely threaded to allow shifting.
3. Install End Rails
After that, position the front and rear end rails. Accordingly, connect them to crossbars using self-tapping screws at pre-drilled holes. Additionally, test fit the rear roller bar but delay final tightening until roof mounting.
4. Lift Sections onto Roof
Then, protect your roof with cardboard or blankets. Meanwhile, lift each section—front, middle, then rear—onto the van. Align sections using the included hinge clamps. Once aligned, tighten their socket-head bolts to lock sections together.
5. Secure to Roof Mounts
Now, slide the slider bolts from each rail into the mounting feet. Afterwards, adjust for centering on the roof. Then, fully tighten all mounting-foot and upright-to-foot hardware to manufacturer torque specs.
Final Checks After Installing Vantech H2.1 Roof Rack on Transit Connect
Once hardware is torqued, perform these final inspections:
- Rack Alignment: Measure distance from rack end to van side on both sides.
- Section Stability: Shake lightly to confirm no play between sections.
- Roller Bar Position: Ensure it clears the rear door when open.
- Accessory Mounts: Attach ladder stoppers and guide channels where needed.
Consequently, you verify a solid, rattle-free rack.
Accessories & Add-Ons
After Installing Vantech H2.1 Roof Rack on Transit Connect, consider these options:
- Ladder Stoppers & Guides: Prevent ladders from slipping.
- Hook-and-Loop Straps: Secure irregular loads in seconds.
- Mounting Brackets: Add lights, antennas, or jerry can holders.
- Roof Crossbar Pads: Protect ladders and cargo from scratches.
Moreover, these add-ons optimize your rack for any job.
Maintenance Tips for Longevity
To keep your Vantech rack performing its best:
- Inspect Monthly: Check bolts and clips for tightness.
- Clean Quarterly: Wash aluminum rails with mild soap.
- Lubricate Clips: Prevent oxidation in slider tracks.
- Watch Load Limits: Respect the 200 lb per-bar capacity.
Furthermore, routine care ensures years of dependable service.
Ready for Any Task
At Upfit Supply, we believe Installing Vantech H2.1 Roof Rack on Transit Connect unlocks your van’s full potential. With quick assembly, heavy-duty aluminum, and endless modular options, this rack is ideal for pros and DIYers alike.
Shop the Vantech H2.1 Roof Rack for Transit Connect
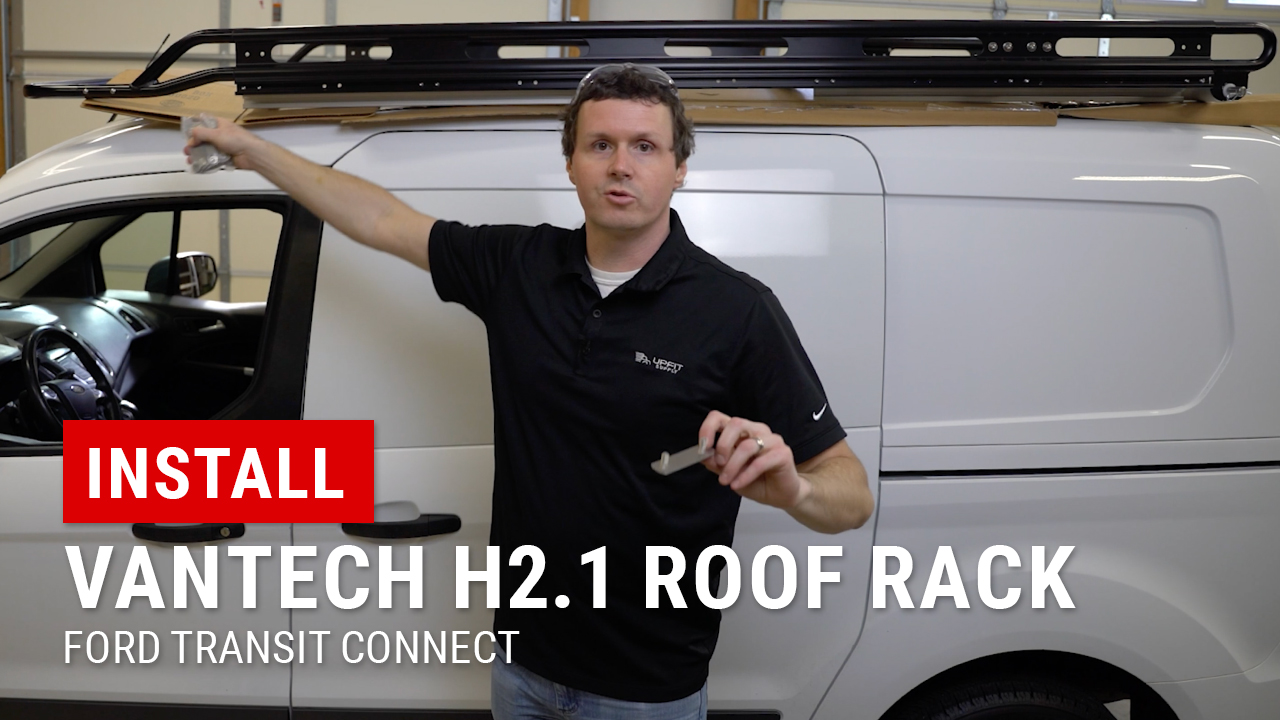
Watch our full tutorial:Installing Vantech H2.1 Roof Rack on Transit Connect
With Upfit Supply, your van works as hard as you do—no exceptions.