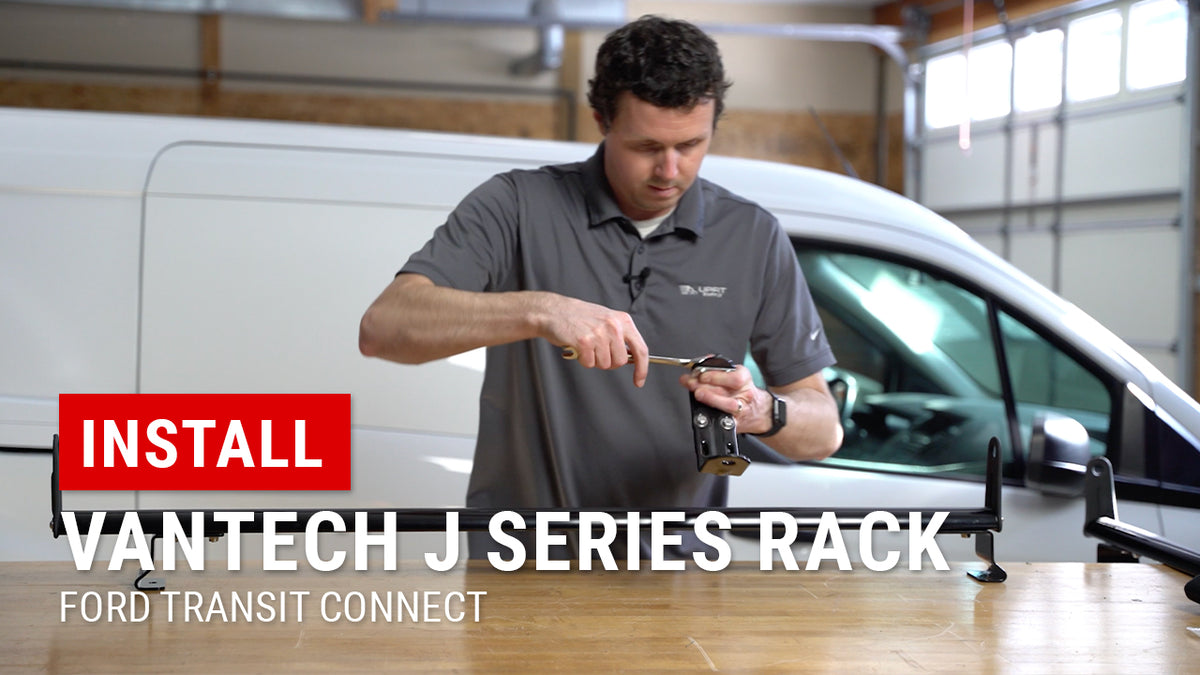
Installing Vantech J Series Ladder Rack on Transit Connect
|
Posted in Install Videos
At Upfit Supply, we know that time is money—and your gear should work as hard as you do. That’s why the Vantech J Series Ladder Rack for the Ford Transit Connect is a favorite for streamlining day-to-day operations. In this guide, we’ll walk you through the entire installation—from prep to final torque—so you can secure ladders and gear in under two hours. Along the way, you’ll appreciate key features like anodized aluminum crossbars and integrated accessory rails that make this rack both rugged and versatile.
Why Installing Vantech J Series Ladder Rack on Transit Connect Matters
First, an unsecured ladder creates hazards. Moreover, drilling extra holes can void your factory warranty. Therefore, installing this modular J-series rack offers:
-
Lightweight Strength: Aircraft-grade aluminum resists corrosion.
-
Accessory Channels: Snap in ladder stops and tie-downs without extra drilling.
-
Universal Fit: Works on all 2014–2021 Ford Transit Connect models, long or short wheelbase.
-
Expandable Design: Scale from two to three bars as your needs grow.
Consequently, your tools stay safe. Plus, you gain a flexible platform for future accessories.
Planning Your Rack Layout
Before you start Installing Vantech J Series Ladder Rack on Transit Connect, decide:
-
Mounting Points: Transit Connect offers five roof studs. Two-bar kits best use positions 2 & 5 for optimal ladder clearance.
-
Bar Spacing: Step ladders fit in a 36–48″ span; extension ladders need 60–80″.
-
Accessory Placement: Map out where to add ladder stoppers, straps, and lights.
Meanwhile, gather a tape measure and chalk to mark stud positions on your roof.
Tools for Installing Vantech J Series Ladder Rack on Transit Connect
Before you begin installing Vantech J Series Ladder Rack on Transit Connect, gather:
-
Trim removal tools to clear roof plug caps
-
12 mm & 13 mm sockets/wrenches for mounting hardware
-
4 mm Allen key for bar-end screws
-
Rubber mallet for bench assembly
-
Tape measure to center crossbars
-
Protective blanket to shield your roof
Meanwhile, park on level ground and clear your cargo area. This small step saves big headaches later.
Bench Prep: Bar Guards & Feet Assembly
First, assemble your rack on the bench. Then prep these bold components:
-
Install Rubber Bar Guards: Roll the guards into each crossbar’s top channel using PVC pipe or thumb pressure.
-
Attach Slider Bolts: Loosely fasten washer and nut under each crossbar; leave slack for later adjustment.
-
Mount Feet to Bars: Bolt uprights onto slider bolts. Keep hardware loose until final roof alignment.
Furthermore, test-fit ladder stops and tie-down hooks now to avoid juggling parts atop your van.
Step-by-Step: Installing Vantech J Series Ladder Rack on Transit Connect
Now let’s move to the van. Follow these steps to complete mounting:
-
Clear Roof Mounts: Pop out five factory plastic caps with trim tools.
-
Position Rear Bar: Slide uprights over roof studs at positions 2 & 5, then lower crossbar into place.
-
Bolt Through Roof: Insert supplied bolt, washer, lock washer, and nut inside the van at each stud.
-
Position Front Bar: Repeat at your chosen front mounting points (e.g., 2 & 5 for a two-bar kit).
-
Center & Level: Measure side-to-side to ensure perfect alignment. Angle feet inward slightly to channel water toward drain tubs.
Moreover, keep hardware finger-tight until all bars are positioned.
Installing Accessories & Tie-Downs
After securing bars, add notable accessories for complete utility:
-
Ladder Stop: Slide into bottom channel and tighten Allen screw.
-
Hook-and-Loop Straps: Secure ladders against uprights.
-
Tie-Down Hooks: Mount anywhere along the integrated rails.
Additionally, these accessory channels accept LED lights, cargo baskets, and tool holders.
Final Inspection After Installing Vantech J Series Ladder Rack on Transit Connect
Once your rack is in place:
-
Retighten Hardware: Torque roof nuts to 20 ft-lb and bar-end screws to 8 ft-lb.
-
Check Upright Angles: Confirm each post stands plumb with a carpenter’s square.
-
Road-Test: Drive at highway speed to detect any wind noise or movement.
Finally, load your ladder and secure it. Now your Transit Connect is job-ready.
Troubleshooting Common Issues
Should you encounter hiccups:
-
Crossbar Shift: Loosen slider bolts, re-center bars, then retighten.
-
Wind Noise: Add foam wind deflector or shift bars slightly forward.
-
Accessory Fit: Swap channel positions or use adapter plates.
With quick tweaks, your J-series rack stays silent and stable.
Maintenance Tips for Your J Series Rack
To keep your rack in peak shape:
-
Annual Wash: Rinse off road salt and grime from aluminum surfaces.
-
Lubricate Slider Bolts: Apply light grease once per season.
-
Inspect Accessories: Check stops, straps, and caps for wear and corrosion.
Consequently, you preserve both function and professional appearance.
Secure and Organized in Minutes
At Upfit Supply, we understand that Installing Vantech J Series Ladder Rack on Transit Connect is more than an upgrade. It’s a safety and productivity boost you can trust. With anodized crossbars, modular channels, and tool-free expansion, this rack outperforms generic roof bars.
Ready to elevate your Transit Connect? Shop now:
Watch the full install tutorial:Installing Vantech J Series Ladder Rack on Transit Connect
With Upfit Supply, your van works as hard as you do—no exceptions.
Ford Transit Accessories

Show Now
Discover professional upfit solutions and accessories for your Ford Transit van.
View Products