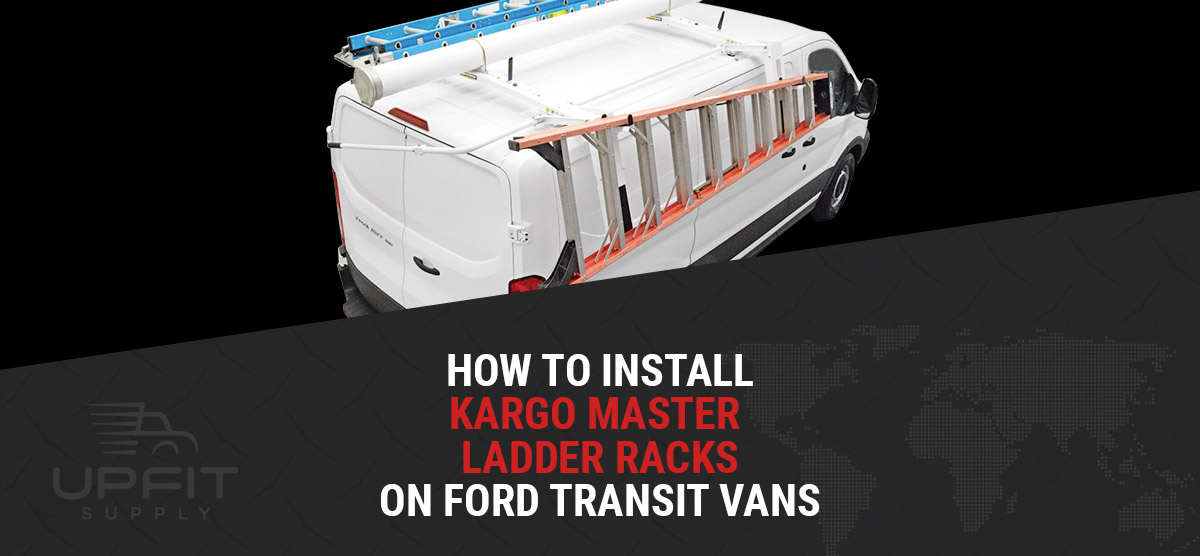
How To Install Kargo Master Ladder Racks on Ford Transit Vans

Kargo Master is one of the market leaders in roof ladder racks for Ford Transit vans. Kargo Master products are high quality and easy to install. Each ladder rack kit includes everything you need to successfully install it on your vehicle yourself.
Below, we’ve outlined an overview of the Kargo Master ladder rack installation process for Ford Transit 150, Ford Transit 250 and Ford Transit 350 cargo vans. This guide does not replace the installation manual from Kargo Master, so be sure to consult the manual during your install. If you’re looking for your installation instructions, you can find a list of Kargo Master installation instructions for Ford Transit vans below.
Step One: Install The Mount Kit
The mount kit contains Ford Transit-specific brackets and hardware that allow you to attach the ladder rack to existing holes in the roof of your van. The mounting process varies slightly depending on the particular ladder rack and the wheelbase, roof height, and body length of your Ford Transit.
- Remove the threaded emboss plugs from the front and rear of the van roof.
- Place a rubber pad between the mounting bracket and the roof of the van (to prevent damage to the roof).
- Install the mount brackets using the provided hardware. Be sure to use a thread sealant on the bolts to ensure a water-tight seal, which prevents moisture from entering the cabin.
https://www.youtube.com/watch?v=WWb92hGVh_Q
Step Two: Install The Rack Feet/Rail
The rack feet are what your actual ladder rack will attach to and sit between the mounting brackets and the ladder rack. Depending on your particular ladder rack model, this process may vary.
- Adjust width of cross bow to match width between mounts on the van.
- Bolt cross bow and feet to van mounts. Snug tight for now.
Step Three: Attach The Ladder Rack
This is going to sound way too easy, but it is easy. Once you’ve completed and on-the-ground assembly required, you simply need to attach the ladder rack to the roof feet or rails.
- Bolt front bow to front feet.
- Bolt rear bow to rear feet.
https://www.youtube.com/watch?v=wqETT6zddDc
Step Four: Tighten All Hardware
In many of the previous steps, you will have left hardware snug tight or slightly loose in order to allow for tolerances in the installation process. Once everything is attached, be sure to tighten and follow any torque specs provided by Kargo Master and Ford.
Kargo Master Installation Guides for Ford Transit Vans (By Part Number)
Mount Kits:
- 409TD – Mount Kit for Drop Down Ladder Racks – (Installation Instructions)
- 408TC – Mount Kit for Clamp & Lock Ladder Racks – (Installation Instructions)
- 4082T – Mount Kit for Steel Crossbar Racks – (Installation Instructions)
- 4A82T – Mount Kit for Aluminum Crossbar Racks – (Installation Instructions)
- 40819 – Mount Kit for Crossbar Racks (includes 2 retractable ratchet straps) – (Installation Instructions)
- 4089T – Mount Kit for Cargo Racks – (Installation Instructions)
Steel Racks:
- 4092L – Low Roof – Drop Down Ladder Rack (main rack/passenger side) – (Installation Instructions)
- 40963 – Low Roof – Drop Down Ladder Rack (driver side add-on) – (Installation Instructions)
- 4099H – Mid/High Roof – Drop Down Ladder Rack (main rack/passenger side) – (Installation Instructions)
- 40913 – Mid/High Roof – Drop Down Ladder Rack (driver side add-on) – (Installation Instructions)
- 4082L – Low Roof – Clamp & Lock Ladder Rack (main rack/passenger side) – (Installation Instructions)
- 4081L – Low Roof – Clamp & Lock Ladder Rack (driver side add-on) – (Installation Instructions)
- 40821 – Low Roof – Crossbar Ladder Rack (main rack – 2 bars) – (Installation Instructions)
- 40822 – Low Roof – Crossbar Ladder Rack (3rd bar add-on) – (Installation Instructions)
- 40890 – Low Roof – Cargo Rack – (Installation Instructions)
Aluminum Racks:
- 4A93L – Low Roof – Drop Down Ladder Rack (main rack/passenger side) – (Installation Instructions)
- 4A96L – Low Roof – Drop Down Ladder Rack (driver side add-on) – (Installation Instructions)
- 4A95L – Low Roof – Drop Down Ladder Rack (preassembled dual dropdown) – (Installation Instructions)
- 4A99H – Mid/High Roof – Drop Down Ladder Rack (main rack/passenger side) – (Installation Instructions)
- 4A91H – Mid/High Roof – Drop Down Ladder Rack (driver side add-on) – (Installation Instructions)
- 4A82L – Low Roof – Clamp & Lock Ladder Rack (main rack/passenger side) – (Installation Instructions)
- 4A81L – Low Roof – Clamp & Lock Ladder Rack (driver side add-on) – (Installation Instructions)
- 4A821 – Low Roof – Crossbar Ladder Rack (main rack – 2 bars) – (Installation Instructions)
- 4A822 – Low Roof – Crossbar Ladder Rack (3rd bar add-on) – (Installation Instructions)
- 4089A – Low Roof – Cargo Rack – (Installation Instructions)


