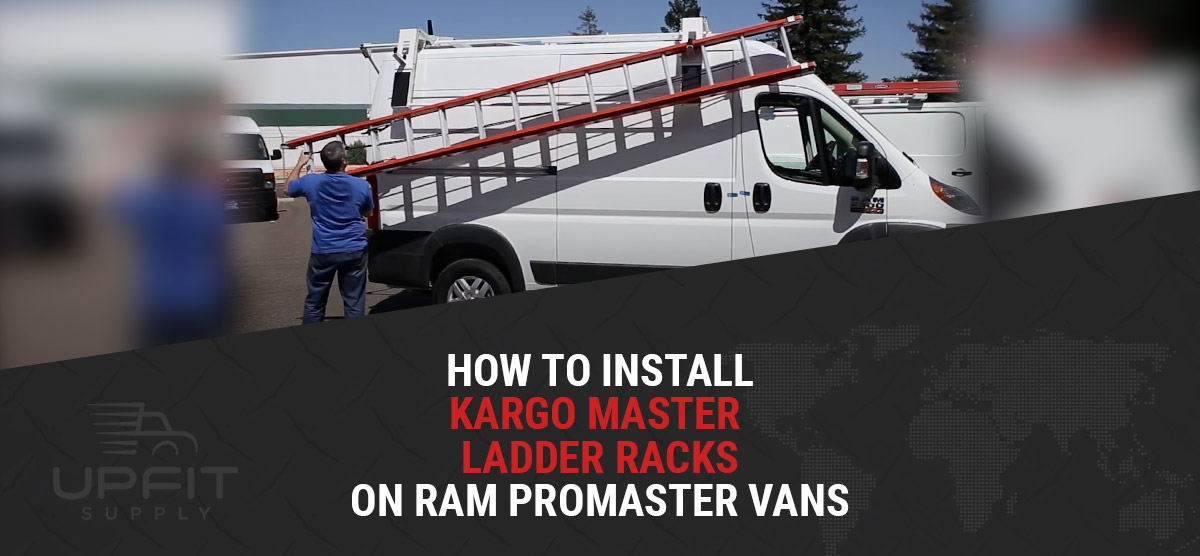
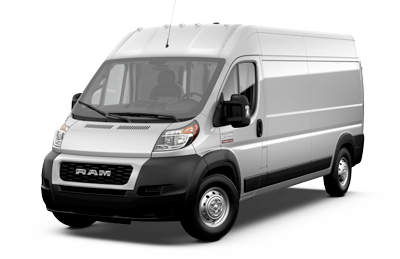
How To Install Holman (f/k/a Kargo Master) Ladder Racks on RAM ProMaster Vans

You’ve received your Holman (formerly known as Kargo Master) ladder rack shipment, and the only thing left to do is install this essential gear on your RAM ProMaster work van. The good news is that setting up the Kargo Master system is straightforward. View How To Install Holman (f/k/a Kargo Master) Ladder Racks on RAM ProMaster Vans below.
Read on for an overview of the installation process for your RAM ProMaster 1500, ProMaster 2500, and ProMaster 3500. This summary is not a substitute for the instruction manual included with your Holman ladder rack. So, take time to go over the setup details provided by the manufacturer thoroughly. Below this article is a list of individual Holman installation instructions for the RAM ProMaster ladder racks.
How To Install Holman (f/k/a Kargo Master) Ladder Racks on RAM ProMaster Vans
Step One: Prepare
Before the installation, you’ll want to follow a few steps to get things started properly.
- Locate a level and safe area to park the van. Engage the parking brake.
- Indoors: Ensure there is sufficient van roof clearance to avoid contacting overhead lights or other obstructions.
- Outdoors: Be certain there are no overhead powerlines or objects that may interfere with the installation
- Inspect the van’s roof to check for pre-existing damage and that the installation area is clean.
Step Two: Install The Mount Kit
The mount kit you’ve purchased is specific to your RAM ProMaster van and will enable you to install the Holman ladder rack via the mounting points on the van’s roof. Installation may vary depending on your van’s model and configuration, so be sure to follow the supplied instructions.
- Locate the two forward T-stud mounting locations on the roof and attach the forward mounting feet.
- Attach the forward track/rail to the forward mounting feet.
- Locate the rear T-stud mounting locations on the roof and attach the rear mounting feet.
https://www.youtube.com/watch?v=6Hg6bI7eNlE
Step Three: Install The Rack Rail
The rack rail (or feet, depending on the system) connects the ladder rack to the mounting brackets. The instructions will walk you through the exact steps, but here’s an overview of installing the rack rail.
- Adjust the crossbow’s width to match the width of the van’s mounts.
- Bolt the crossbow to the mounting brackets. Snug-tight only the hardware (you’ll tighten everything later on).
Step Four: Attach The Ladder Rack
Your ladder rack is almost ready for use.
- As needed, assemble the rack structure on the ground or a work table.
- Secure the front bow to the rail or feet.
- Secure the back bow to rail or feet.
https://www.youtube.com/watch?v=wqETT6zddDc
Step Five: Tighten The Hardware
As a follow-up to the previous steps, tighten all hardware to complete the installation process. Be sure to follow any torque requirements specified by Holman and RAM.
Step Six: Finishing Up
You’re almost ready to get to work!
- Test out the system by adding a ladder.
- With everything in place, measure the new total height of the van (the van height plus the height of the new rack with a ladder). Check out our roof height measurement guide (it’s for a Ford van, but the steps are the same for your ProMaster).
- Add the new height measurement to a sticker and place this information prominently on the dashboard to prevent any low-clearance accidents in the future.
https://www.youtube.com/watch?v=PbiZ6Nv_WgE
Need Help With How To Install Holman (f/k/a Kargo Master) Ladder Racks on RAM ProMaster Vans?
The professionals at Upfit Supply are here to answer your questions about equipping your work van. Contact us for installation guidance and ordering help.
How To Install Holman (f/k/a Kargo Master) Ladder Racks on RAM ProMaster Vans (By Part Number)
Mount Kits:
- 4081P – ProMaster Mount Kit for Drop Down Ladder Racks – (Installation Instructions)
- 4089P – ProMaster Mount Kit for Cargo Racks – (Installation Instructions)
How To Install Holman (f/k/a Kargo Master) Steel Ladder Racks on RAM ProMaster Vans:
- 4092L – Low Roof – Drop Down Ladder Rack (main rack/passenger side) – (Installation Instructions)
- 40963 – Low Roof – Drop Down Ladder Rack (driver side add-on) – (Installation Instructions)
- 4099H – High Roof – Drop Down Ladder Rack (main rack/passenger side) – (Installation Instructions)
- 40913 – High Roof – Drop Down Ladder Rack (driver side add-on) – (Installation Instructions)
- 40890 – Low Roof – Cargo Rack – (Installation Instructions)
Aluminum Racks:
- 4A93M – Low Roof – Drop Down Ladder Rack (main rack/passenger side) – (Installation Instructions)
- 4A96M – Low Roof – Drop Down Ladder Rack (driver side add-on) – (Installation Instructions)
- 4A99H – High Roof – Drop Down Ladder Rack (main rack/passenger side) – (Installation Instructions)
- 4A91H – High Roof – Drop Down Ladder Rack (driver side add-on) – (Installation Instructions)
- 4089A – Low Roof – Cargo Rack – (Installation Instructions)


