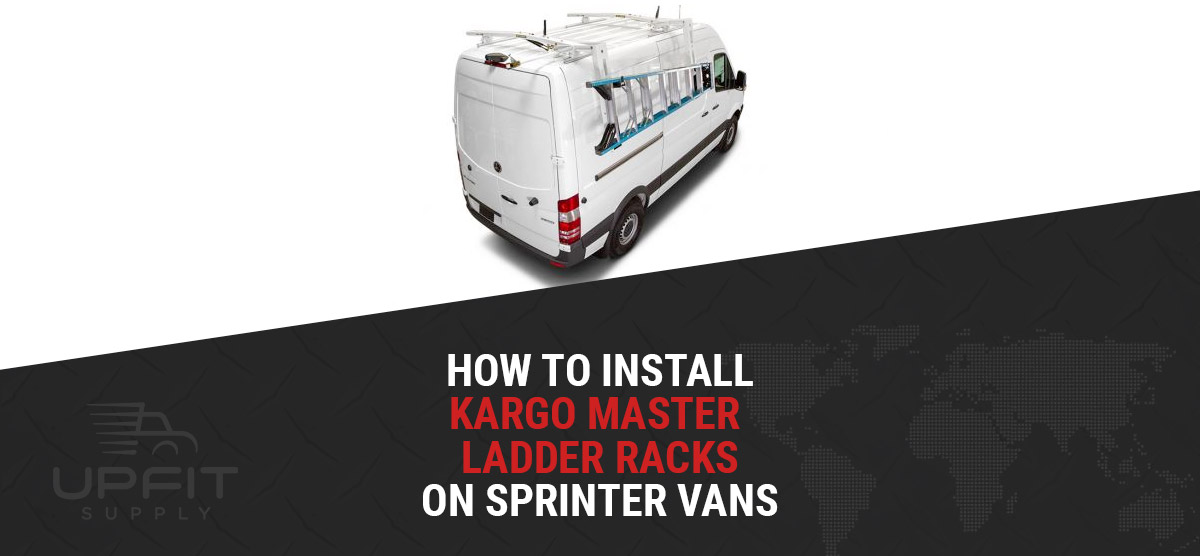
How To Install Kargo Master Ladder Racks on Sprinter Vans

With a Kargo Master ladder rack in hand, you’re ready to get work. But, before you can hit the road, the system needs to get installed. Fortunately, it’s a simple process that doesn’t take much effort.
Read on for installation highlights for your Mercedes-Benz Sprinter 1500, Sprinter 2500, Sprinter 3500, Sprinter 3500XD, or Sprinter 4500. This overview is a summary of the installation process. Refer to the accompanying Kargo Master manual for complete instructions for the setup of your ladder rack. Also, see below for a list of individual Kargo Master installation details for the Mercedes-Benz Sprinter ladder racks.
Step One: Prepare
Before starting, take precautions to ensure an uneventful installation.
- Begin by parking the van in a safe and level area and engaging the parking brake.
- Indoors: Check the van’s roof is clear of overhead lighting or any obstructions.
- Outdoors: Ensure that no overhead power lines or nearby objects can interfere with the installation process.
- Look for pre-existing roof damage and clean around the installation area (especially near the mounting holes, as future access may be limited).
Step Two: Install The Mount Kit
The accompanying mount kit you’ve purchased is engineered for your specific Mercedes-Benz Sprinter and will use the existing roof holes to secure the Kargo Master ladder rack to the top of the van. Keep in mind that installation steps may vary depending on the Sprinter’s model and configuration; the supplied instructions will walk you through the precise steps.
- Gently remove the mounting hole caps from the roof with a chisel or knife.
- Place the bolt into the mounting bracket/clip.
- Put the rubber pad through the bolt and add thread sealant to the bolt (to block moisture from entering the van).
- Align the bracket assembly over the roof hole and install it using the accompanying hardware.
https://www.youtube.com/watch?v=6Hg6bI7eNlE
Step Three: Install The Rack Rail
The ladder rack is connected to the mounting brackets via the rail (or feet, depending on the equipment). Follow the instructions for the precise method, but here’s a summary of how the rack rail is installed.
- Adjust the width of the crossbow to accommodate the positions of the roof mounts.
- Using the supplied bolts, secure the crossbow to the mounting brackets. Just snug-tight the hardware (you’ll tighten things up later on).
Step Four: Attach The Ladder Rack
You’re almost ready to load up the ladder.
- If needed, pre-assemble the rack on the ground or a table.
- Attach the front bow to the rail or feet.
- Attach the back bow to the rail or feet.
https://www.youtube.com/watch?v=wqETT6zddDc
Step Five: Tighten The Hardware
Complete the installation by tightening the hardware. Be certain to follow any torque requirements set by Kargo Master and Mercedes.
Step Six: Finishing Up
A few more steps, and you’ll be on the way!
- Attach a ladder to the rack to test the system
- With the ladder in place, measure the new full height of the van (the original height of the van plus the rack and ladder). For help, review our roof height measurement guide (although this covers a Ford van, the steps are identical for your Sprinter).
- To prevent any low-clearance problems, add the new height measurement to a sticker and place this information in a prominent location on the dashboard.
https://www.youtube.com/watch?v=PbiZ6Nv_WgE
Are You Ready For A Kargo Master Ladder Rack?
Learn how the right equipment can help the bottom line of your business. Contact the experts at Upfit Supply for personalized ordering help and installation assistance.
Kargo Master Installation Guides for Sprinter Vans (By Part Number)
Mount Kits:
- 4081S – Sprinter Mount Kit for Drop Down Ladder Racks – (Installation Instructions)
- 4089T – Sprinter Mount Kit for Cargo Racks – (Installation Instructions)
Steel Racks:
- 4097M – Std Roof – Drop Down Ladder Rack (main rack/passenger side) – (Installation Instructions)
- 40983 – Std Roof – Drop Down Ladder Rack (driver side add-on) – (Installation Instructions)
- 4099H – High Roof – Drop Down Ladder Rack (main rack/passenger side) – (Installation Instructions)
- 40913 – High Roof – Drop Down Ladder Rack (driver side add-on) – (Installation Instructions)
- 40890 – Std Roof – Cargo Rack – (Installation Instructions)
Aluminum Racks:
- 4A93M – Std Roof – Drop Down Ladder Rack (main rack/passenger side) – (Installation Instructions)
- 4A96M – Std Roof – Drop Down Ladder Rack (driver side add-on) – (Installation Instructions)
- 4A99H – High Roof – Drop Down Ladder Rack (main rack/passenger side) – (Installation Instructions)
- 4A91H – High Roof – Drop Down Ladder Rack (driver side add-on) – (Installation Instructions)
- 4089A – Std Roof – Cargo Rack – (Installation Instructions)
Kargo Master Ladder Rack Kits
Kargo Master has made selecting a ladder rack for your Sprinter van even simpler with the introduction of ladder rack kits. Kargo Master ladder rack kits include everything you need for a DIY installation including mount kit, rack, and any additional accessories. Choose your rack type below to get started:


