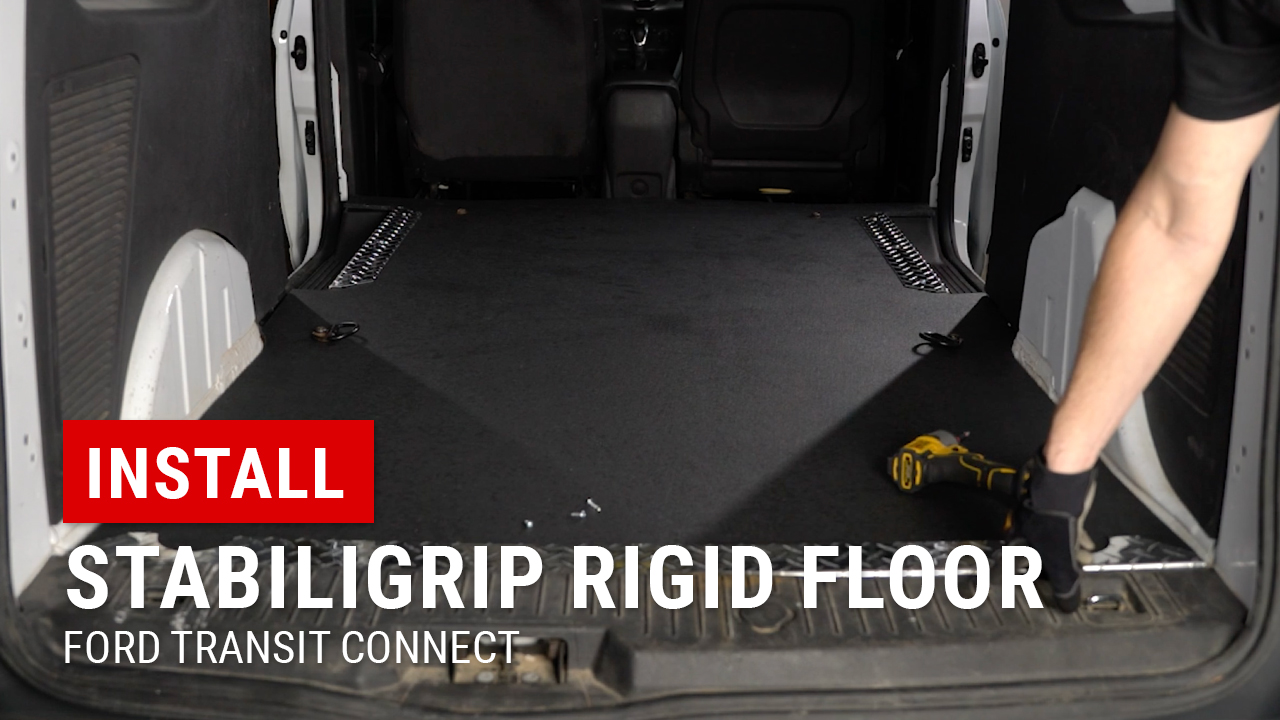
Installing StabiliGrip Rigid Floor in Ford Transit Connect LWB
When it comes to your cargo floor, durability and safety are non-negotiable. That’s why installing StabiliGrip Rigid Floor for the Ford Transit Connect LWB is one of our go-to upgrades. In this guide, we’ll walk you through every phase—from prep to final trim—so you can complete the install in under an hour. Along the way, you’ll get the full breakdown of standout features like its high-strength polymer construction and sound-dampening core, built to handle whatever the job throws your way.
Why Installing StabiliGrip Rigid Floor in Ford Transit Connect LWB Matters
Firstly, factory vinyl floors often crack and sag. Moreover, slick surfaces increase slip risk. Therefore, StabiliGrip Rigid Floor offers:
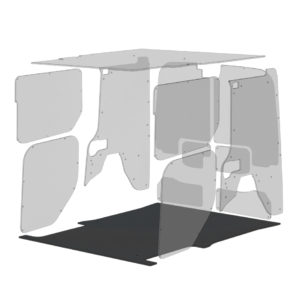
- Custom One-Piece Fit: Precision-cut for Long WB Transit Connect.
- Heavy-Duty Polymer: Resists dents, abrasions, and chemicals.
- Textured Non-Slip Surface: Enhances traction underboot and cargo.
- Integrated Sound Dampening: Reduces road noise and vibration.
Consequently, your van stays cleaner, quieter, and more professional.
Tools Needed for Installing StabiliGrip Rigid Floor in Ford Transit Connect LWB
Before you start Installing StabiliGrip Rigid Floor in Ford Transit Connect LWB, assemble:
- Trim removal tools for plastic clips
- Impact driver with Phillips head bit and Torx T50
- Breaker bar for stubborn D-ring bolts
- Gloves to protect against sharp edges
Meanwhile, park on level ground and remove loose cargo. This prep ensures a smooth workflow.
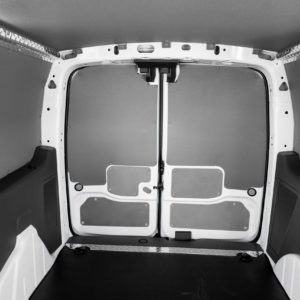
Removing the Factory Flooring
Next, clear the original mat:
- Unbolt D-Rings: Use Torx T50 and impact driver.
- Pry Out Clips: Remove sill and side-wall trim with trim tools.
- Slide Out Vinyl Mat: Lift straight up, then recycle or store.
Afterwards, vacuum or wipe the bare floor. Consequently, the surface stays dust-free for installation.
Step-by-Step: Installing StabiliGrip Rigid Floor in Ford Transit Connect LWB
Now begins the heart of Installing StabiliGrip Rigid Floor:
- Lean & Insert: Angle the front edge under sill trim.
- Slide Rearward: Push the back edge against the rear threshold.
- Center & Align: Check side gaps near wheel wells and door jams.
- Test Fit: Ensure smooth door operation without binding.
Moreover, the single-piece panel allows one-person installs in most cases.
Securing D-Rings and Aluminum Thresholds
Once positioned:
- Reinstall Front D-Ring: Bolt through floor with supplied washers and nut.
- Attach Rear D-Rings: Use longer bolts if original hardware falls short.
- Snap in Thresholds: Slide aluminum sills over door sills and butt rear edge.
- Drive Self-Threading Screws: These tap into the StabiliGrip floor without pre-drilling.
Therefore, anchors and thresholds integrate seamlessly, framing your new floor.
Final Adjustments and Inspection
After Installing StabiliGrip Rigid Floor, inspect:
- Edge Fit: Confirm the floor snugly follows all contours.
- Anchor Flushness: Ensure D-rings sit level without bulging.
- Surface Evenness: Brush out minor shifts or wrinkles.
Finally, load tools or gear with confidence. The rigid surface won’t flex under heavy loads.
Maintenance Tips for Your Rigid Floor
To keep your StabiliGrip floor in top shape:
- Sweep or Vacuum: Remove grit and debris weekly.
- Spot Clean: Use mild soap; avoid solvents.
- Rinse Down: Hose off mud or spills as needed.
- Air Dry Flat: Prevent moisture from seeping under the mat.
Moreover, routine checks on threshold screws ensure lasting performance.
Upfitting Made Easy
At Upfit Supply, we understand why Installing StabiliGrip Rigid Floor is essential. This upgrade delivers industrial-grade strength, non-slip safety, and noise reduction in one swift install.
Ready to transform your Transit Connect’s cargo bay? Shop now:
StabiliGrip Rigid Floor for Ford Transit Connect LWB
Complete Transit Connect Upfit Kit
Watch the full tutorial: Installing StabiliGrip Rigid Floor in Ford Transit Connect LWB
With Upfit Supply, your van works as hard as you do—no exceptions.